How to Build and Use Your Own Home Recording Studio with Confidence
Guest Blog by Ed Carter
This month’s guest author’s feature focuses on the set-up of a home recording studio. This is good insight and practical advice! However, many of Ed Carter’s recommendations may also be applied to establishing and running a virtual private teaching studio. Most of us remember the challenges of COVID with the sudden shut-downs of in-person music instruction. I watched as local educators (especially my wife Donna and one very talented Western PA private string teacher Suzanne Sonnenberg) adapting to using online meeting apps like Zoom, Microsoft Teams, Google Meet, and Skype. They problem solved in creating their own digital music studios. (As they saying goes: “When life hands you lemons, you make lemonade?”) Although now more than six years old and some links may have expired, additional remote teaching resources can be perused at a previously posted blog Virtual/Remote/Alternate Music Ed.
THANK YOU, ED! PKF
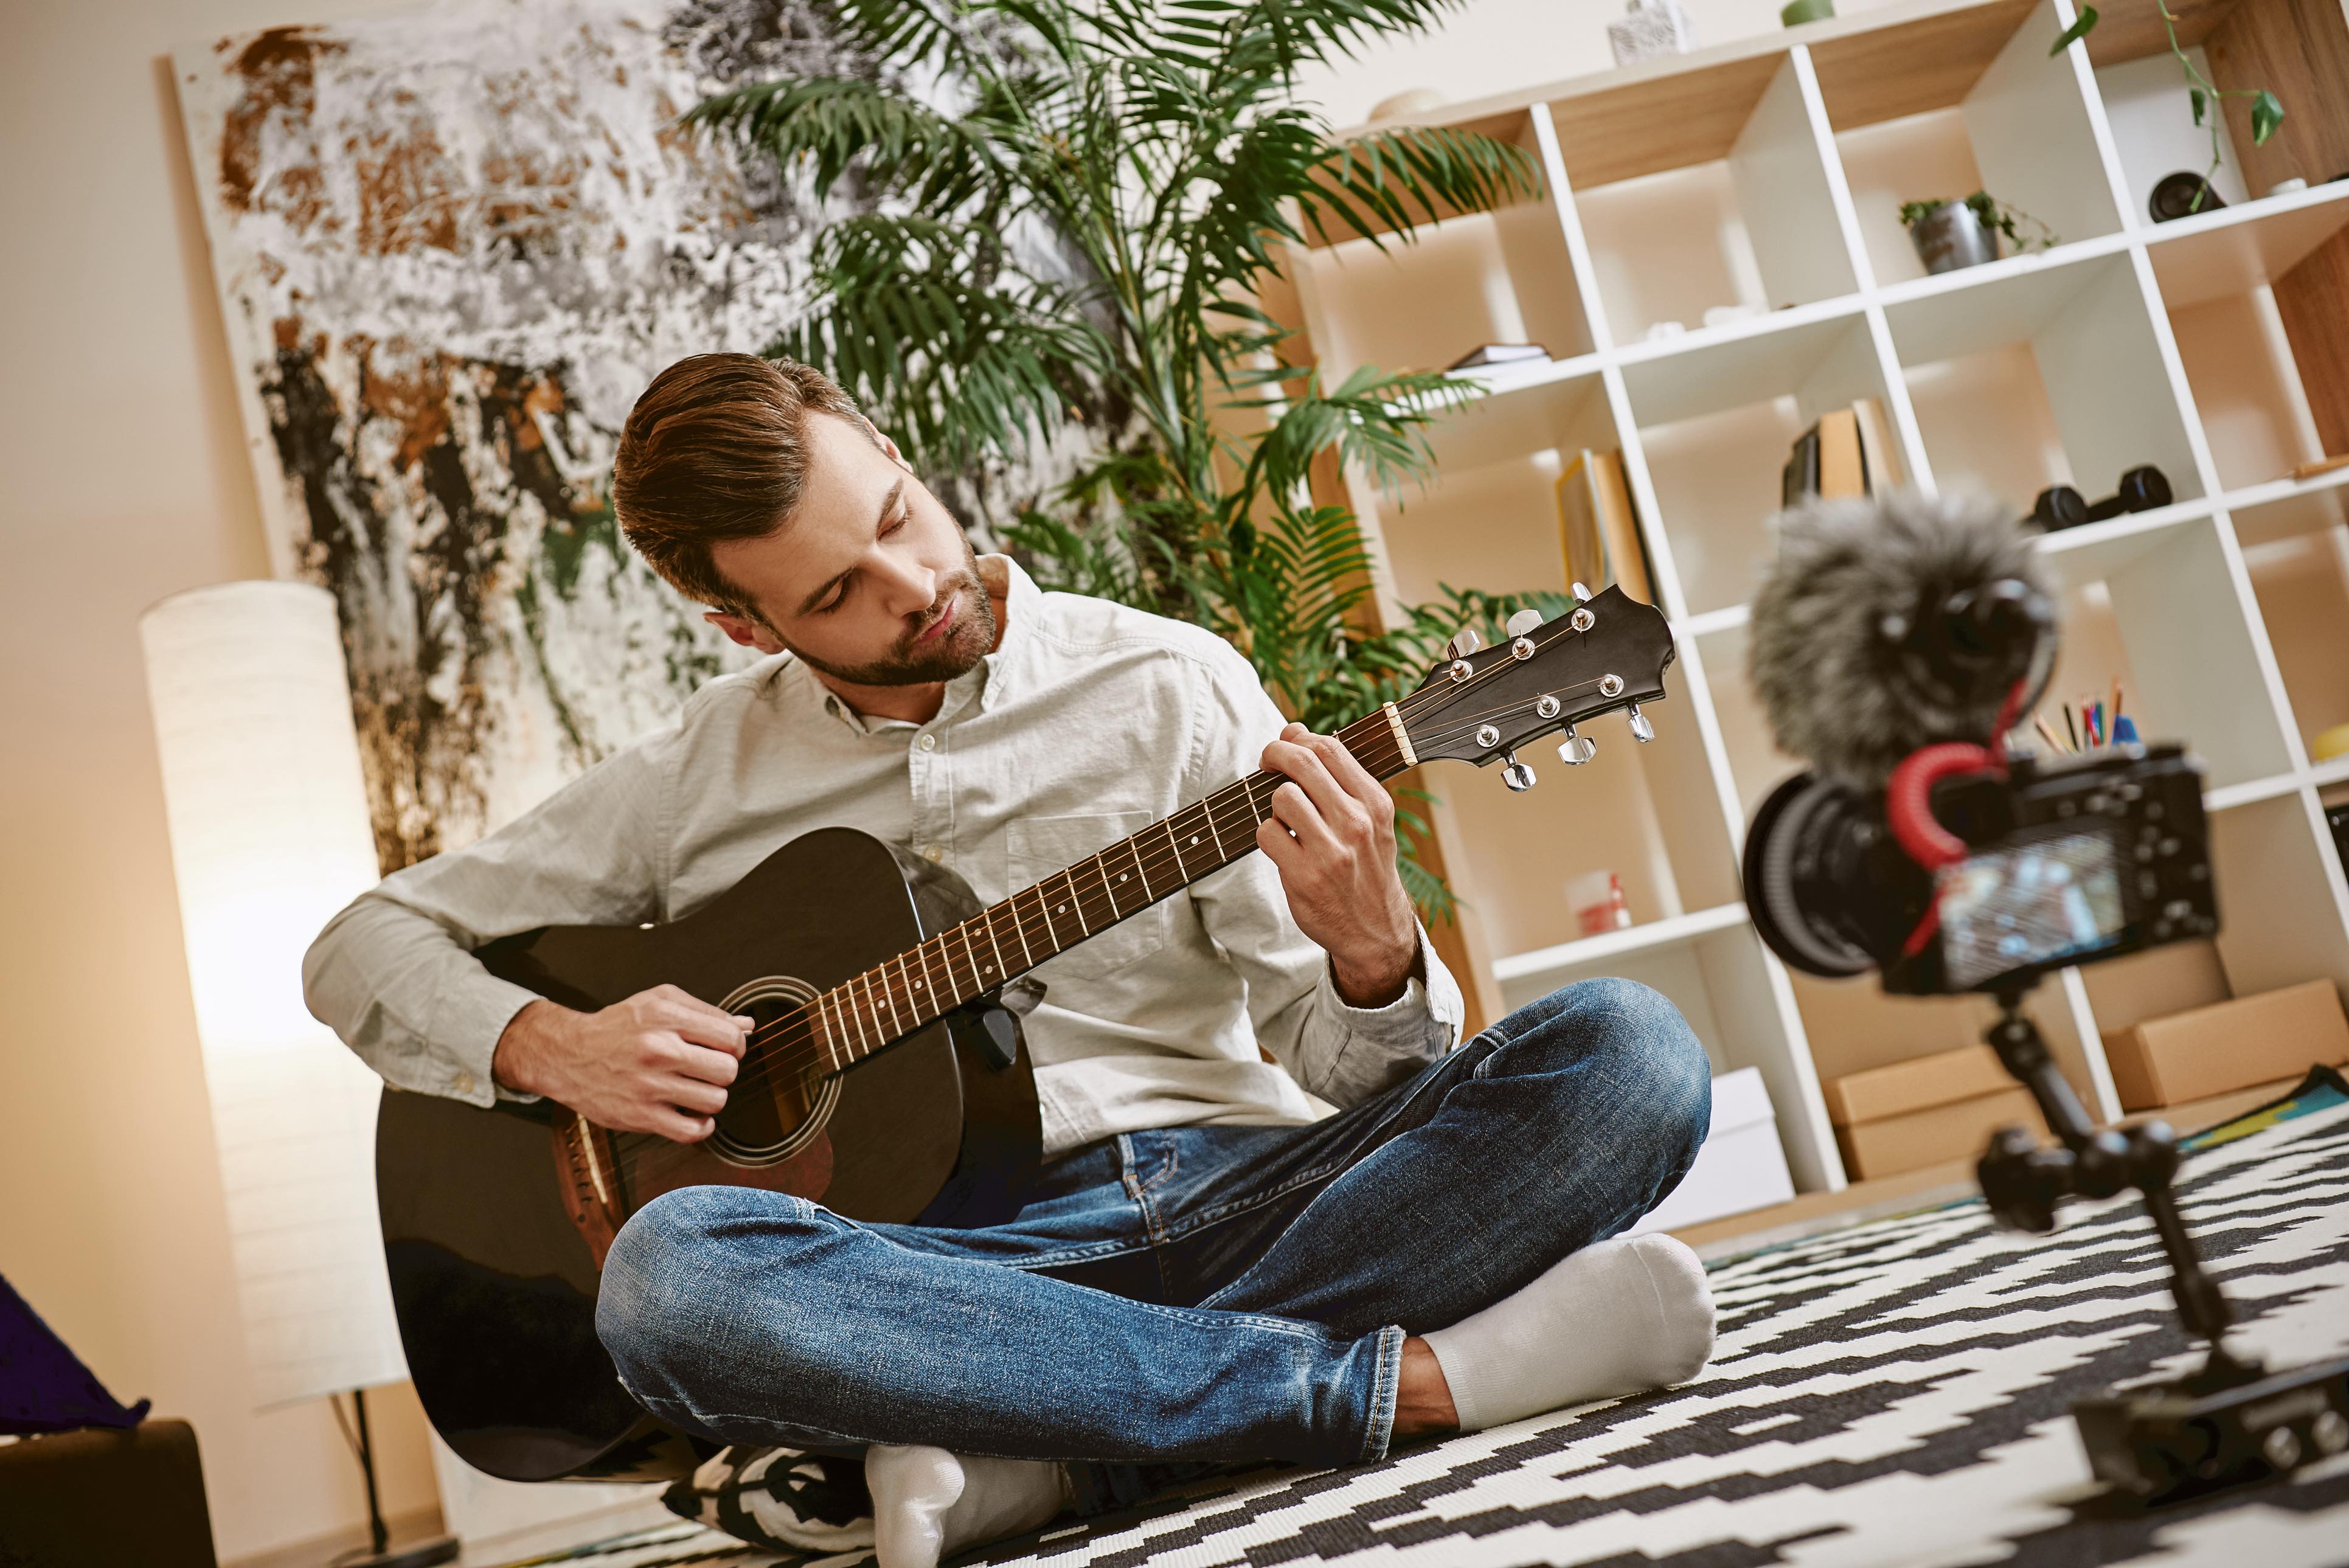
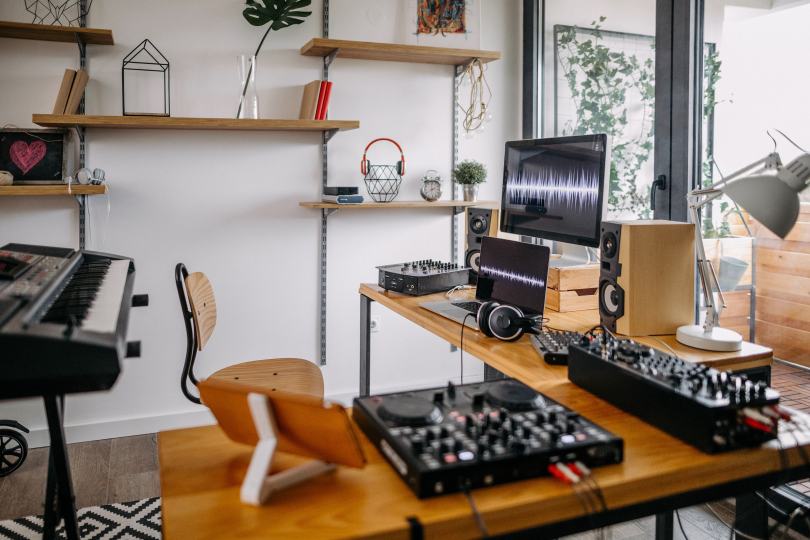
Independent musicians recording at home often hit the same wall: the ideas are strong, but the recordings don’t translate outside the room. A home recording studio setup can feel like a maze of compromises, limited space, limited budget, and the fear that at-home music production will always sound “demo.” The reality is that a DIY music studio can deliver consistent, repeatable results when the setup supports the work instead of fighting it. With a clear approach to home audio recording, a spare room or corner can become a place where tracks get finished with confidence.
Set Up a Home Recording Studio That Just Works
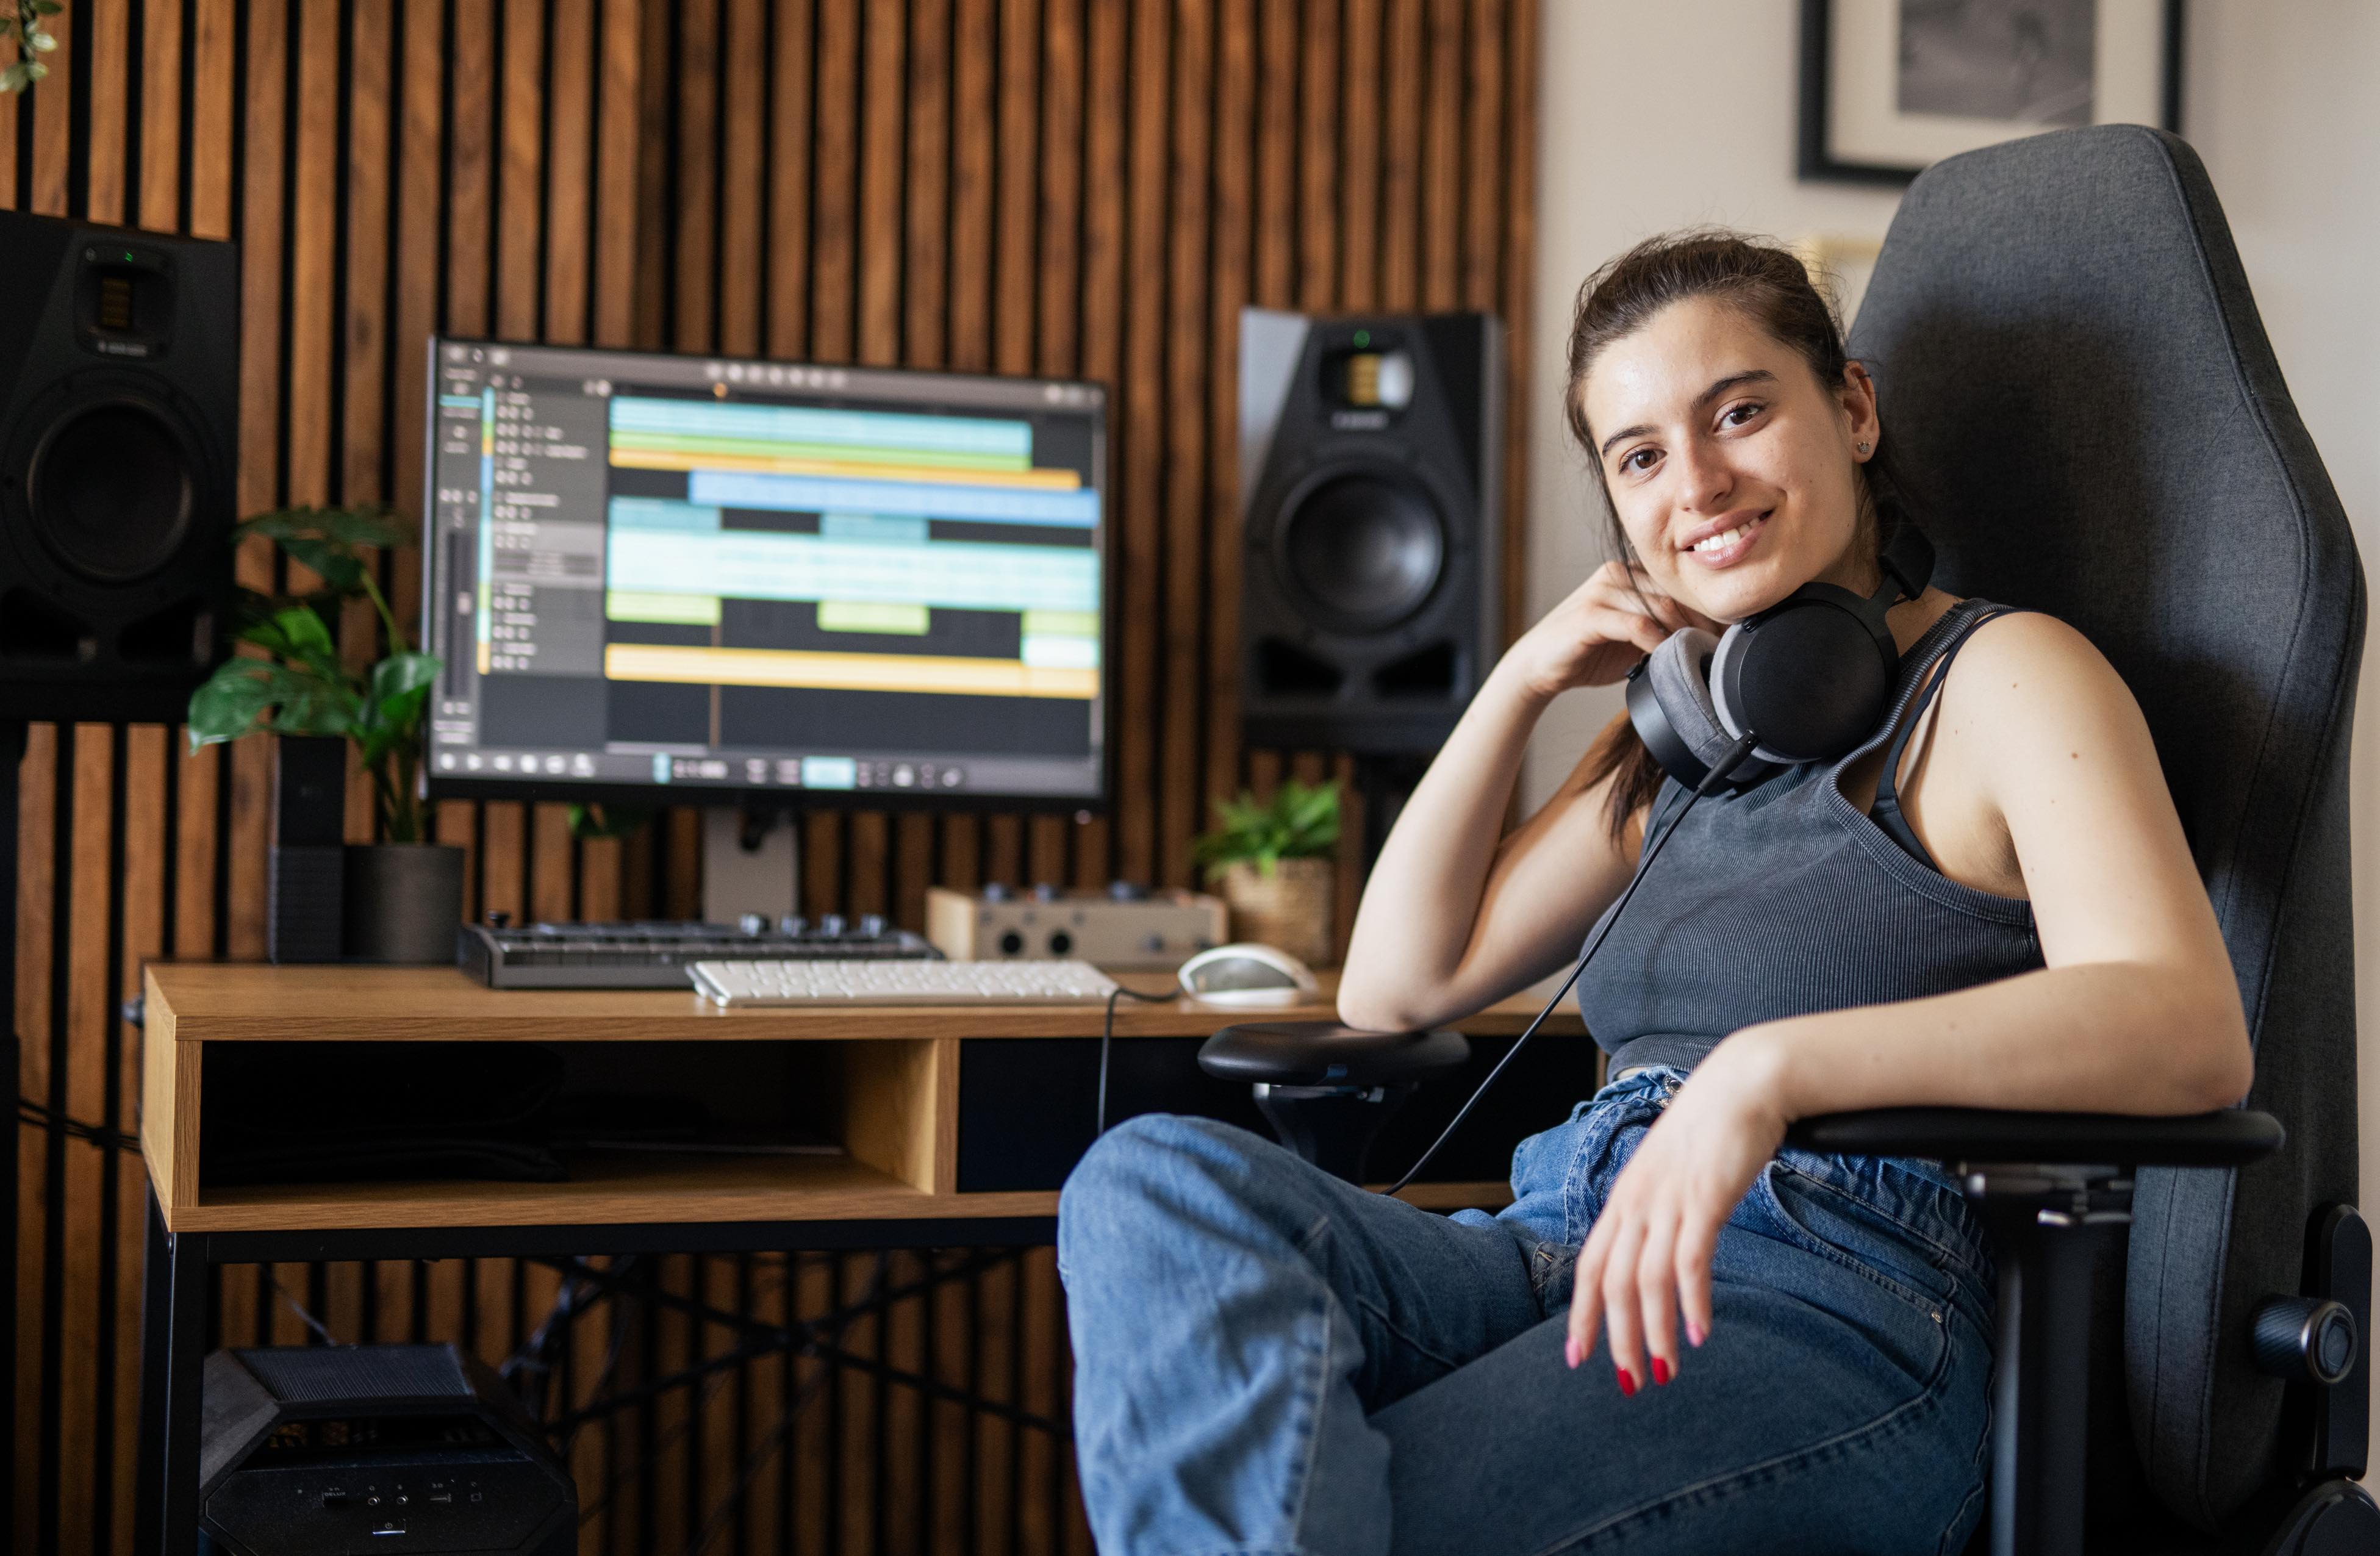
This process helps you turn an ordinary room or corner into a dependable setup for recording, editing, and basic mixing. It matters because consistency, not expensive gear, is what makes your tracks translate on headphones, car speakers, and playlists.
- Choose the most controllable space
Start with the quietest spot you have, away from traffic noise, appliances, and hard reflections. Pick a location you can leave set up, since tearing down and rebuilding your rig leads to different results every session. Aim for practicality over perfection so you can record more often. - Reduce noise and tame reflections first
Silence problems show up on every take, so handle them early: close gaps, add thick curtains or rugs, and turn off anything that hums while tracking. If you share one room for recording and mixing, prioritize what Berklee calls a way to make the room quiet so microphones capture your performance, not the room. Then add simple acoustic treatments like foam panels at reflection points and bass traps in corners. - Build your “essential chain” of gear
Focus on the basics that affect every recording: a solid microphone (or two), closed-back headphones for tracking, and studio monitors if your space allows. Choose an interface based on Audient’s reminder to match how many inputs you need for what you plan to record at once, like one vocal mic versus a full band. Keep cables, a mic stand, and a pop filter in the kit so setup does not slow you down. - Pick a DAW and set up a reusable template
Select a digital audio workstation you can learn deeply, then keep your first sessions simple: one or two audio tracks, one headphone mix, and a click track if you need it. Create a template with track names, input assignments, and basic routing so every new song starts from a working baseline. This removes guesswork and keeps your focus on the performance. - Run a quick pre-record workflow check
Do a 60-second test: set levels, record a short sample, listen back on headphones, and confirm there is no clipping, buzz, or delay that throws off timing. Save the project immediately, label it clearly, and back up your session folder after each recording block. A repeatable routine is what makes home sessions feel professional.
Protect Your Studio’s Power: Manage Electrical Risk at Home
Once your studio setup is working smoothly, it’s worth thinking about the home electrical pieces that keep sessions dependable day after day. Adding a home warranty that covers electric appliances can help safeguard your studio equipment and your wiring’s reliability over time, giving you a clearer path to repairs when something in the electrical system fails. For homeowners who want that extra peace of mind, exploring electrical system coverage in a home warranty can be a practical option alongside your studio gear investments. Getting interior electrical lines and components home warranty coverage can cover repairs for hard-wired electrical lines, wiring, and outlets. Next, we’ll troubleshoot the common noise, echo, and gear headaches that can still pop up even in a well-equipped room.
Home Studio Troubleshooting Questions, Answered
Q: How do I cut outside noise without rebuilding the room?
A: Start by sealing air gaps: door sweeps, weatherstripping, and thick curtains can reduce street and hallway bleed quickly. Add a rug and a dense moving blanket behind your mic to tame reflections that make noise feel louder. Record when the house is quietest, and use close mic technique to keep your signal strong.
Q: Why does my vocal sound hollow or echoey even with a good mic?
A: You may be hearing room noise, which often happens when you record too far from the microphone. Move 4 to 8 inches closer, add a pop filter, and aim the mic away from bare walls. Treat the first reflection points with soft, thick materials.
Q: What mic should I choose if my room is loud or untreated?
A: A dynamic mic can be the easiest win because dynamic microphones handle loud sources and reject some room spill. Place it close, lower the input gain, and monitor for plosives. Save sensitive condensers for when your space is better controlled.
Q: How do I track down hiss, hum, or buzz fast?
A: Mute or unplug everything except the mic, interface, and headphones, then add gear back one piece at a time. Swap cables first, then try a different outlet, and keep power adapters away from audio lines. If the noise changes when you touch metal, check grounding and cable shielding.
Q: When my interface clips, should I lower the gain or the track fader?
A: Lower the interface preamp gain first, because clipping happens before the fader can help. Aim for peaks around -12 to -6 dBFS while recording for headroom. If you need more level, move the mic closer instead of cranking gain.
Home Studio Setup Checklist You Can Trust
With those fixes in place: This quick checklist keeps your setup repeatable, so you stop guessing and start recording confidently. Run it before every session to catch small issues before they ruin a take.
✔ Confirm recording gear inventory and label every cable and adapter
✔ Set mic position and pop filter distance before pressing record
✔ Check acoustic treatment verification at first reflection points
✔ Verify interface input gain and safe recording peaks
✔ Monitor in headphones and listen for hum, hiss, or crackle
✔ Save and back up sessions since projects can easily exceed 50GB
✔ Reset studio workspace organization with clear desk, stand, and light placement
Tidy wins compound fast, and your best takes show up when your process does.
Turn Your Home Studio Setup Into Confident, Repeatable Sessions
A home setup can still feel intimidating when the gear is ready but the results aren’t consistent. The reliable way forward is a simple mindset: start small, capture clean takes, and treat every session as recording skills development through continuous learning in home recording. With that approach, home studio motivation turns into music production inspiration, and music creation confidence grows with every project instead of depending on perfect conditions. Confidence comes from pressing the record button, listening back, and improving one decision at a time. You can start a simple session today: record a short part, review it, and repeat with one intentional change. That steady practice builds creative resilience and keeps making music feel achievable.
© 2026 Ed Carter and Paul K. Fox